

Last Updated on 5 years by Christopher G Mendla
Once you decide to go ahead with the resealing project, it’s time to gather materials and tools. This includes a pressure washer and cleaners, an intial supply of filler and sealer and more.
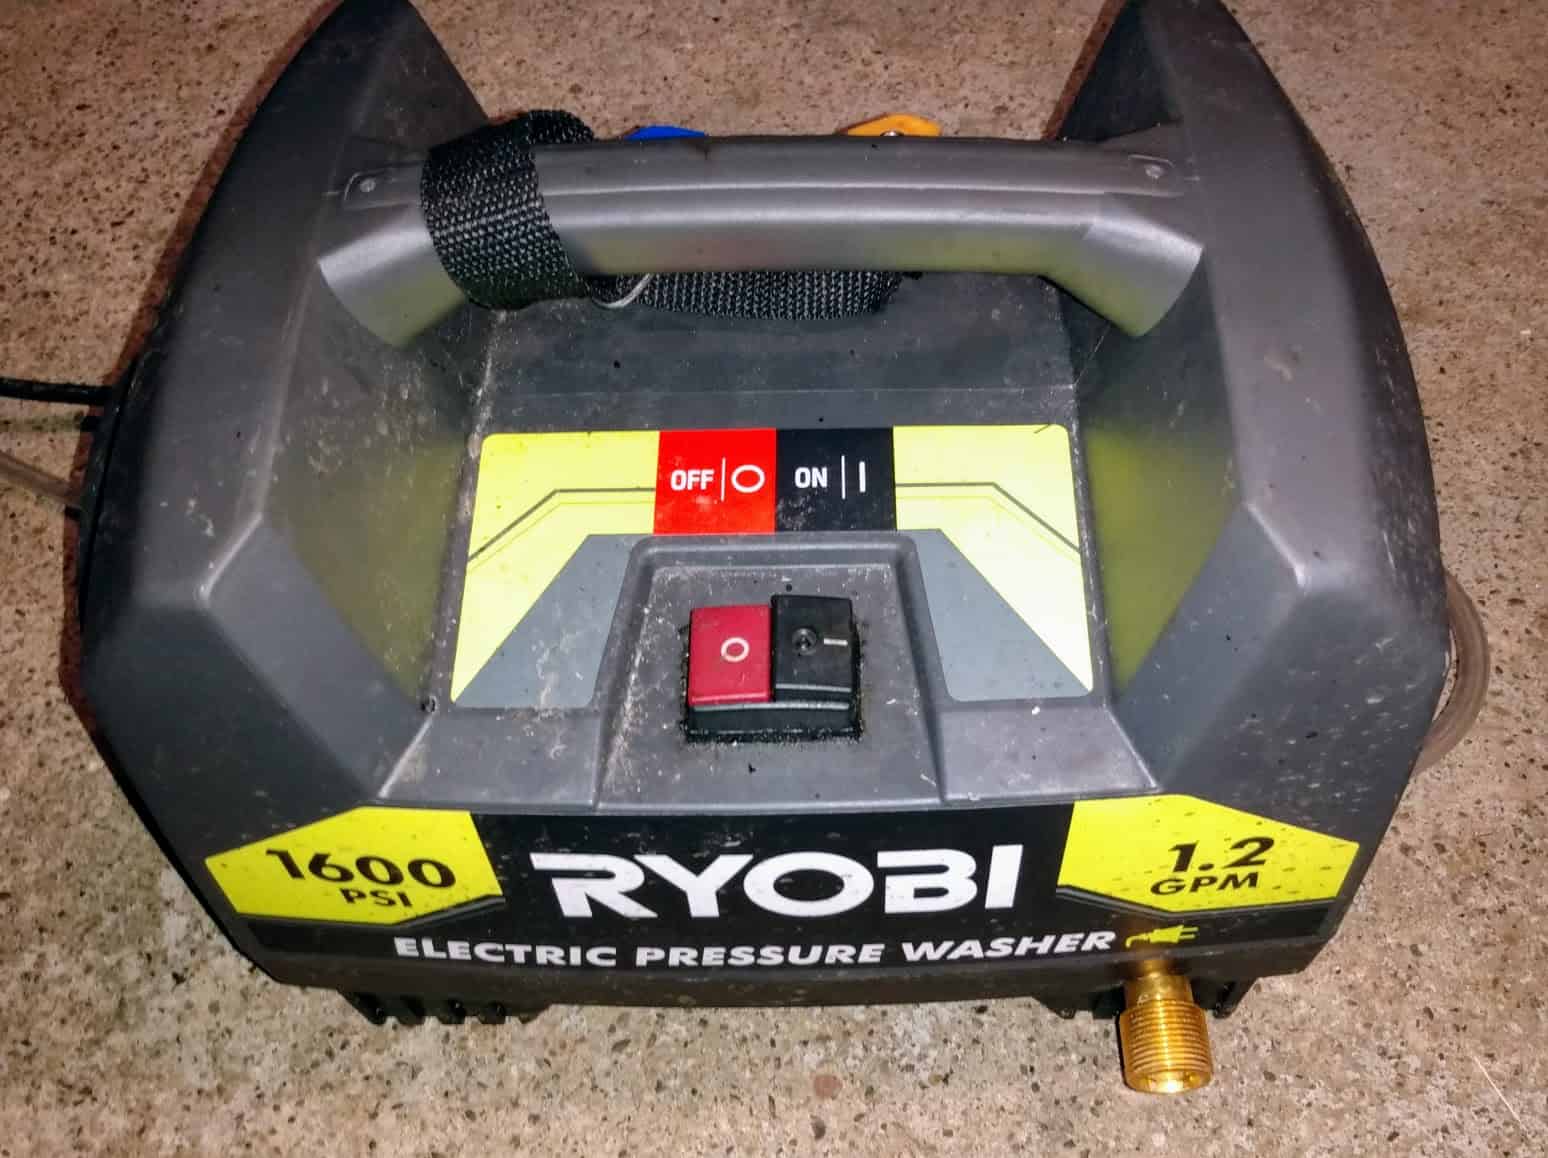
Pressure Washer
See below for links to the previous posts on this topic
The driveway needs to be as clean as possible. The dirt will have embedded itself in the asphalt. The cleaner the driveway, the better the sealer will bond with it.
I purchased a Ryobi 1600 psi electric powerwasher for around $100. My driveway is about 170′ long. Running a tool such as a pressure washer using extension cords can damage the tool. Voltage drops significantly over distance. The lower voltage causes the tool to burn out quickly.
The alternative is to purchase extension hoses. I bought four 50′ hoses with the adapters. Pushing the water that distance does not cause the same issues as using an extension cord.
Horizontal hand truck
If you have a long driveway, a dolly or hand truck will come in handy when moving the pails from where you mix them to where you need them.
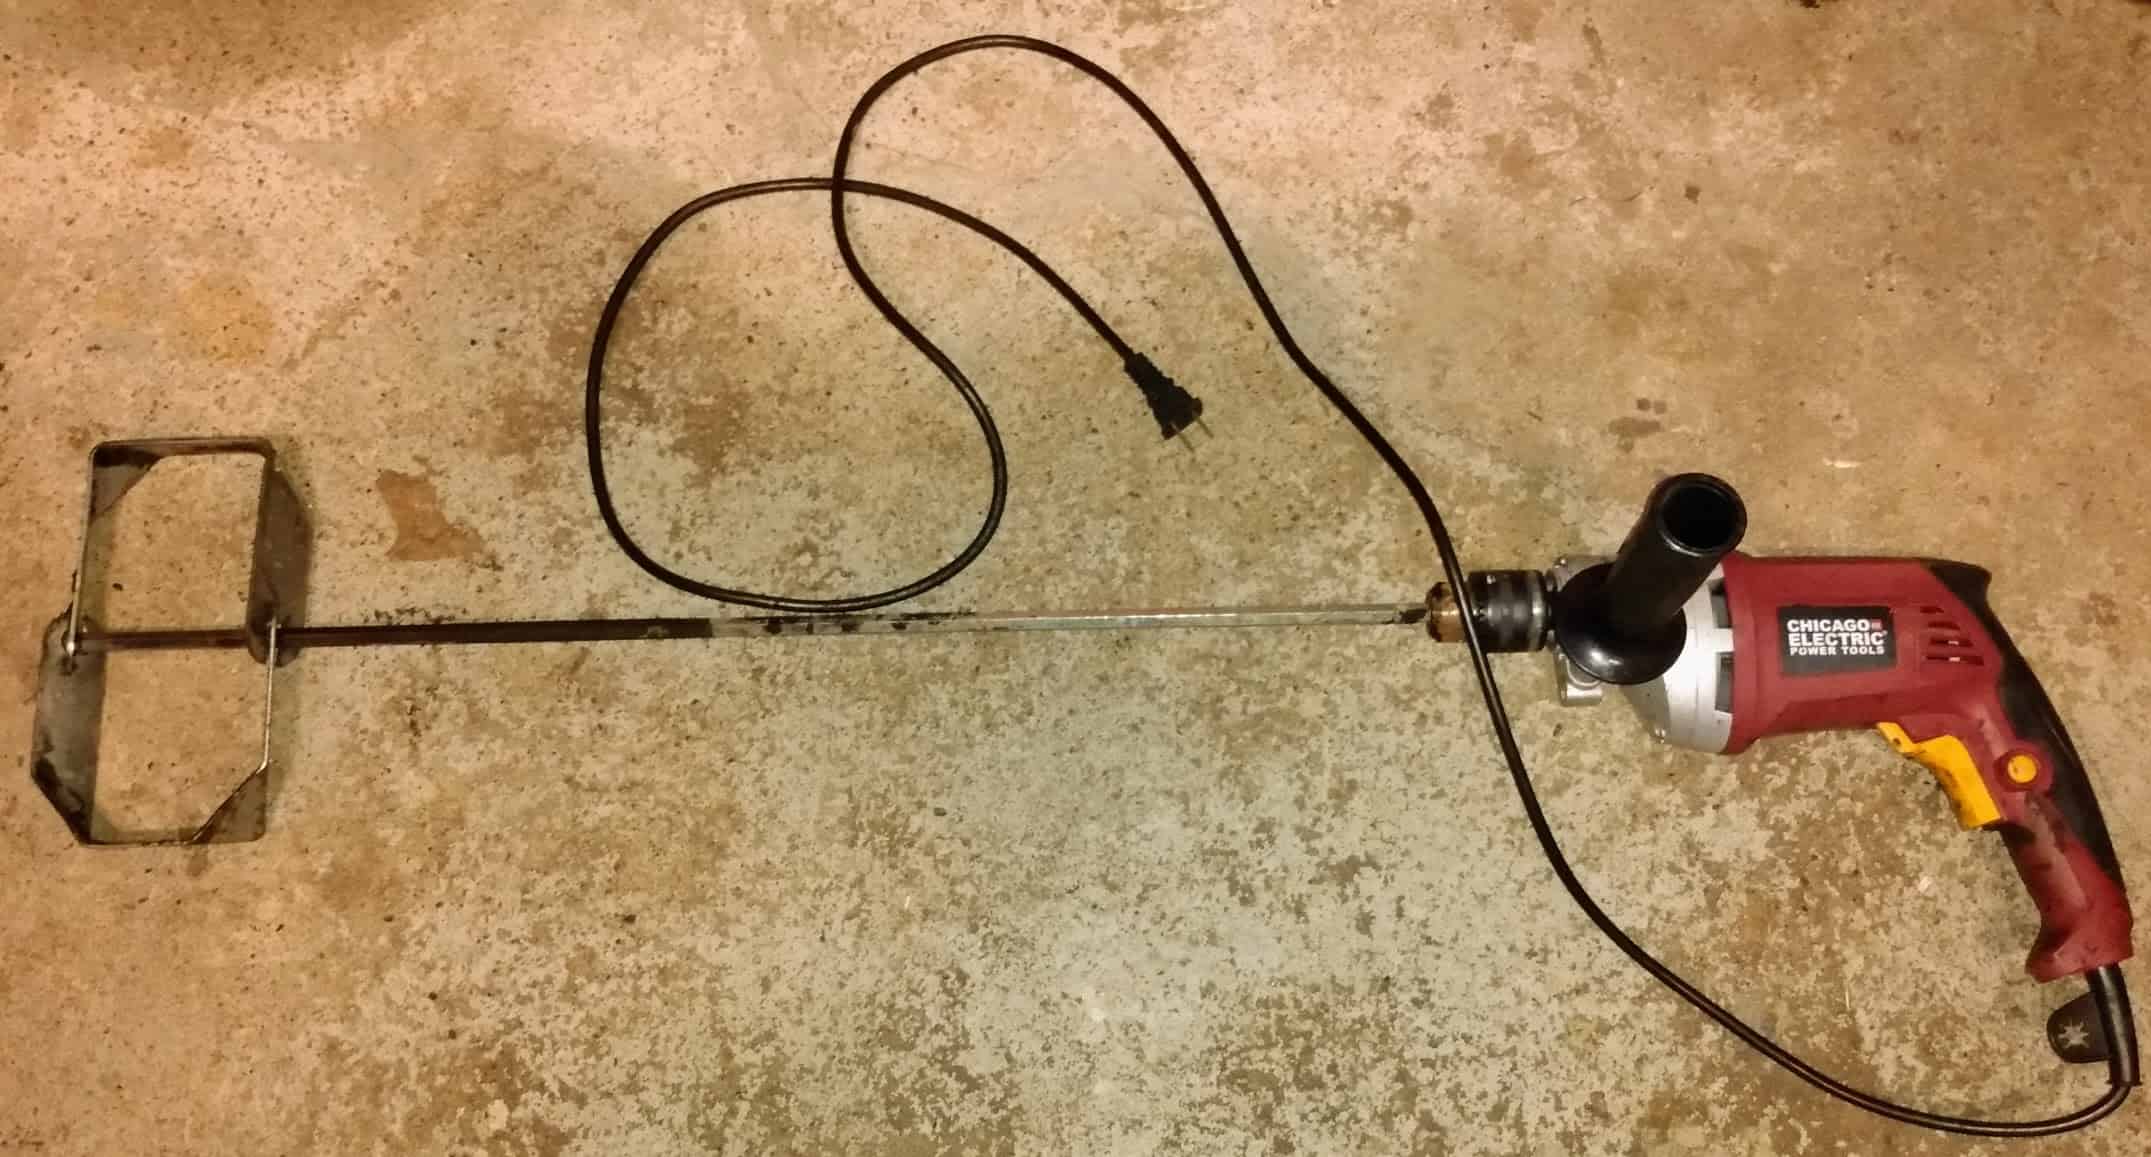
Half Inch Drill and Heavy Duty Mixer and a 3/8 inch drill and mixer.
In order to effectively mix the sealer, you will need a half inch drill with a heavy duty mixing blade. A 3/8″ drill just won’t have the power and torque that you need.
If you are using trowel patch, you will need a 3/8″ drill and mixing blade. A corded drill is preferable as a battery drill might might not hold up well.
Materials.
You could order all of the materials at once. Some stores such as Home Depot offer free delivery if you purchase $45 or more. However, it is difficult to estimate the amounts needed. I’m only 20 minutes from the big hardware stores so I purchased what I anticipated on using in the next week or so.
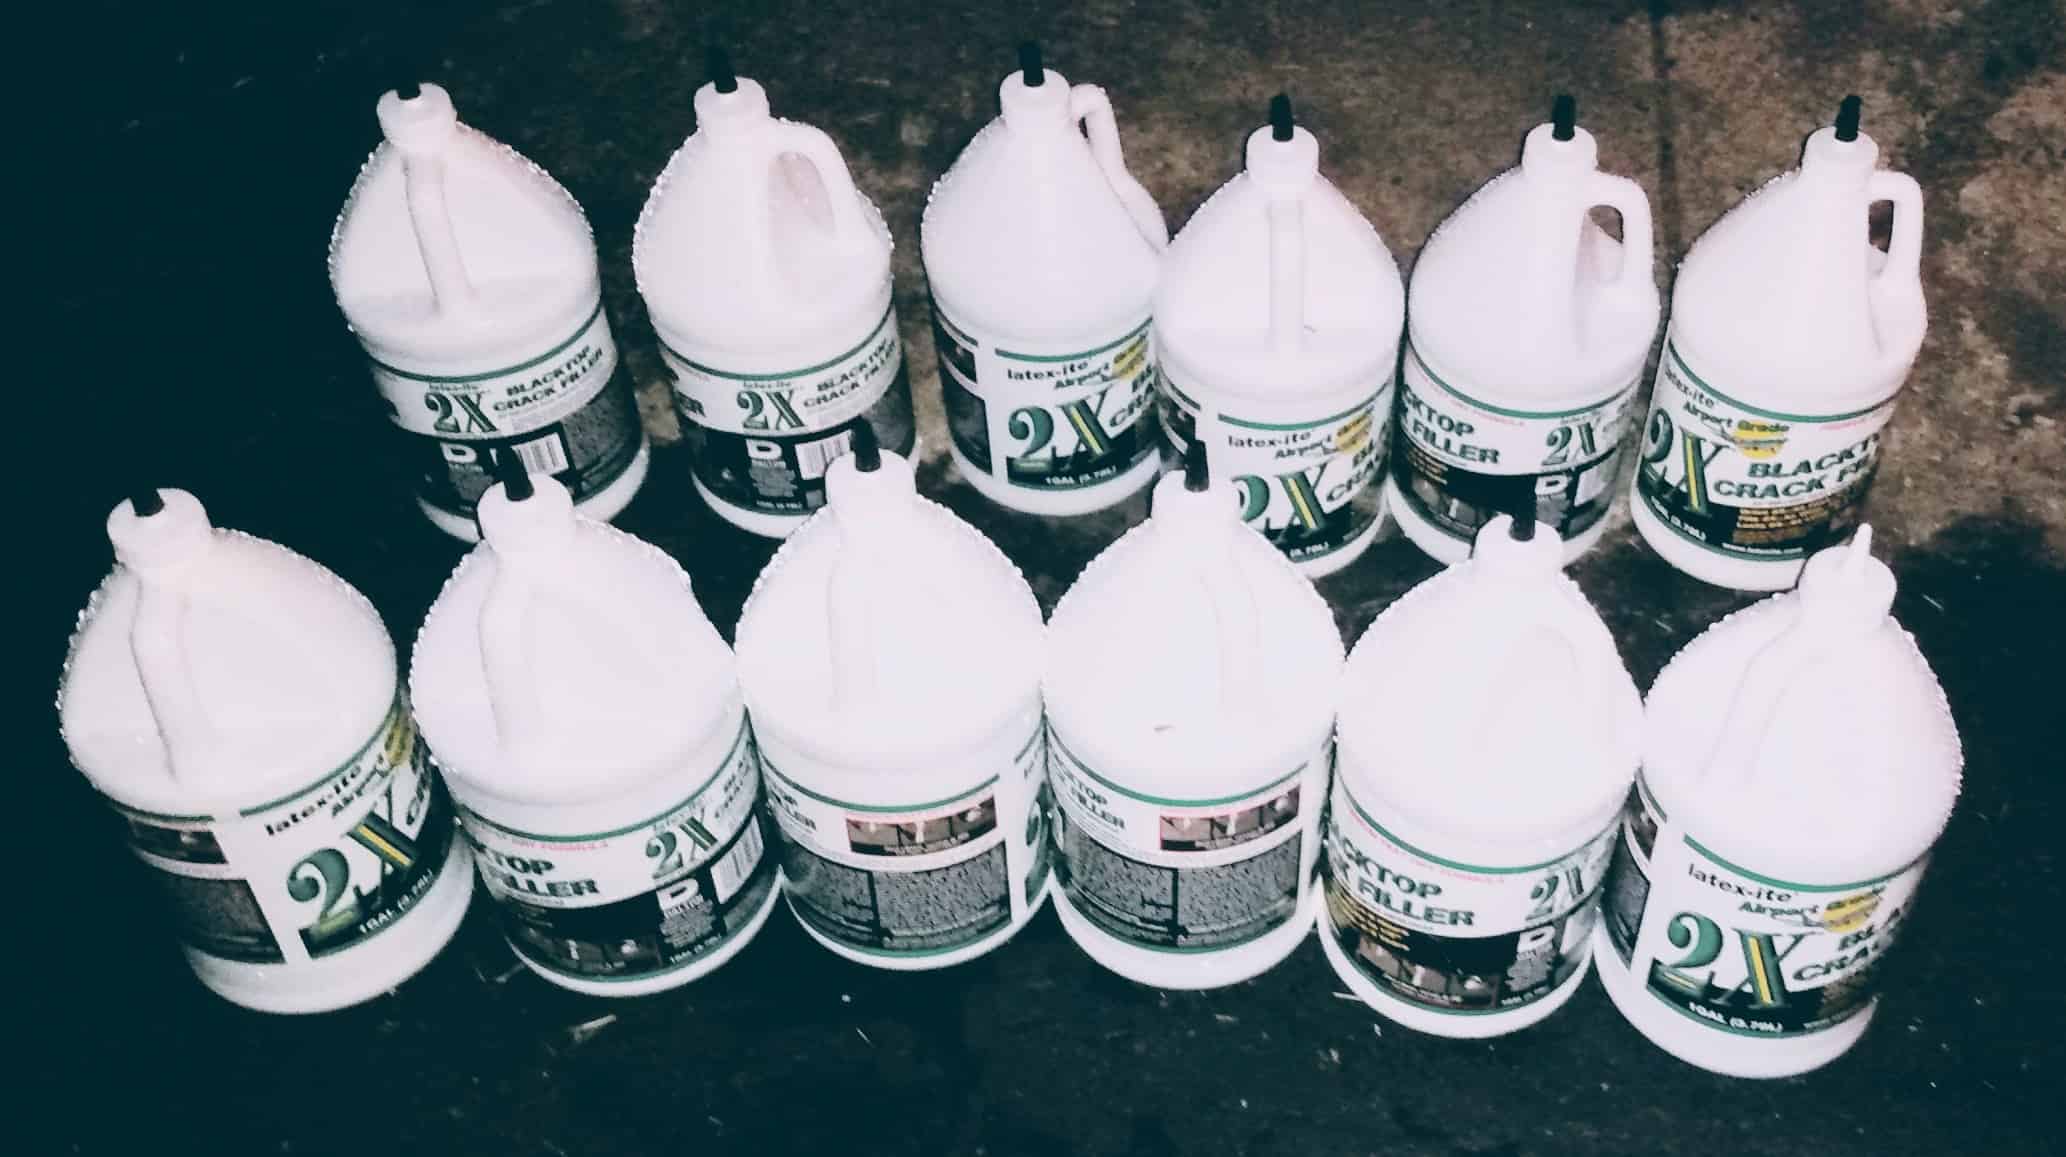
Crack Filler
You will probably need a variety of crack filler products.
- Pourable crack filler – I used the Latexite 2x crack fillers. It seemed to work well.
- Trowel filler – This is a lot thicker than the pourable filler. However, trying to fill larger voids will result in cracking.
- Pli-stix or Crack-Stix – This is a rope like filler that you heat with a torch to melt into the cracks.
- Driveway repair tape – This comes in varying widths and can be useful with certain cracks
Sealer
You might want to do a test run with 2 gallons of crack filler and one pail of sealer. That will let you see if you want to continue with that particular brand.
Check the stores for “Bulk Pricing”. For example, one pail of sealer at Home Depot was 19.99. However, 3 pails or more qualified for a bulk price of 13.99. That was a savings of $3.00 per pail.
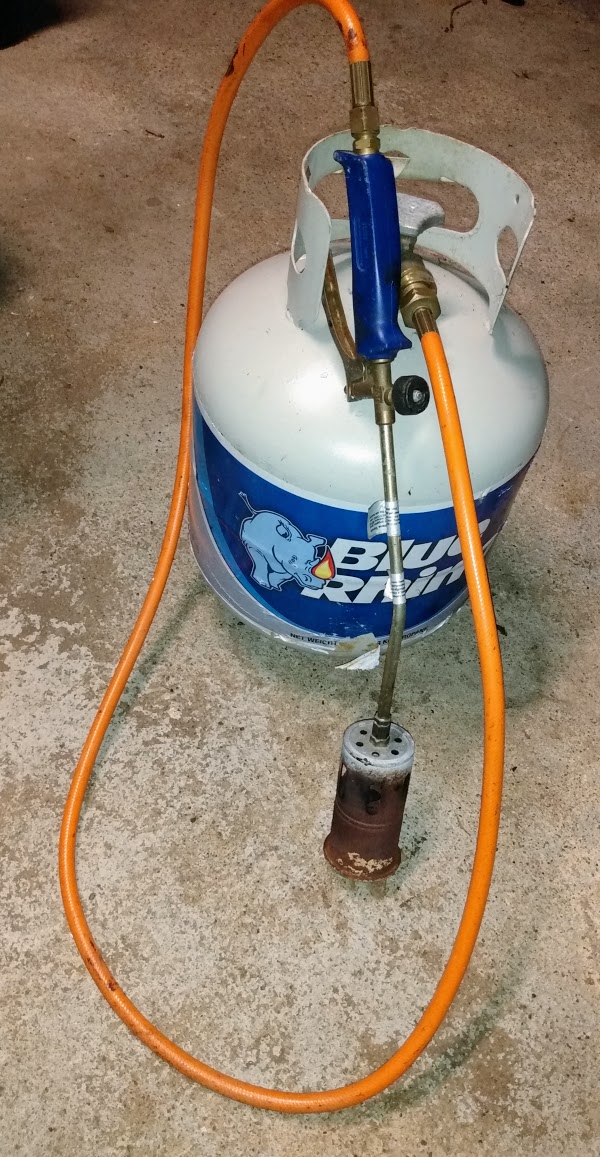
Torch
This is handy for getting rid of weeds in your cracks and for melting Pli-stix crack filler. You could use a standard handheld torch but a large torch attached to a 20# propane bottle is your best bet.
Note that the large torch will go through propane quickly. If possible have a full bottle in reserve.
Personal Items
- Throw away pants. Whatever you wear during the project should be trashed when done. You don’t want to run tar covered clothes through a good washer and dryer
- Boots/old sneakers. I found boots to be handy when spreading the sealer. These are the standard rubber rain boots. They will get full of sealer.
- Headbands – Wiping your forehead when you have sealer or crack filler on your hands will lead to interesting results.
- Gloves – A good supply of nitrile gloves. I used the cheaper, thinner gloves when working with the sealer and heavier gloves when working with the crack filler.
- Bug repellent – Bugs can be a pain when your hands are covered with sealer and crack filler.
- Cheap sunglasses – Getting tar on a $200 pair of sunglasses would be a real bummer. Get a cheap pair to use while working.
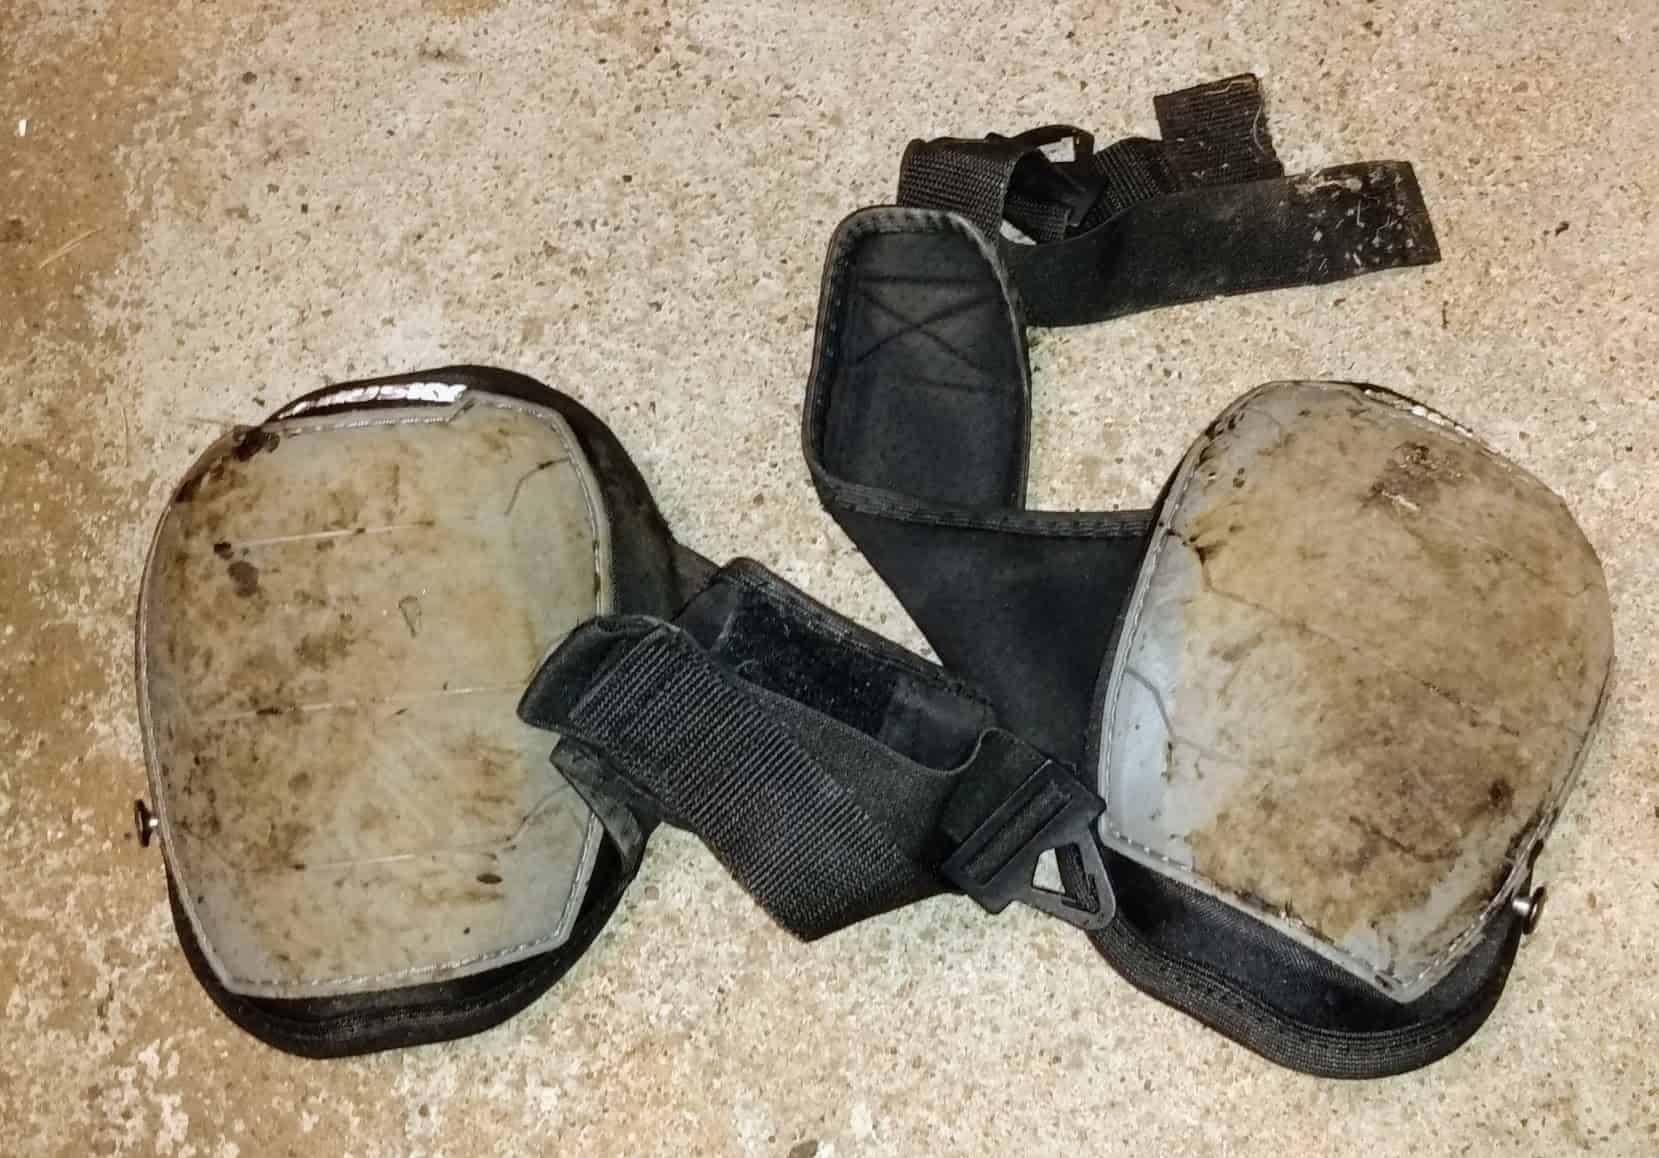
- Kneepads – If you are going to be kneeling while working on the cracks, then a pair of decent kneepads will help. I don’t know what I paid for these BUT it was certainly a LOT less than knee replacements.
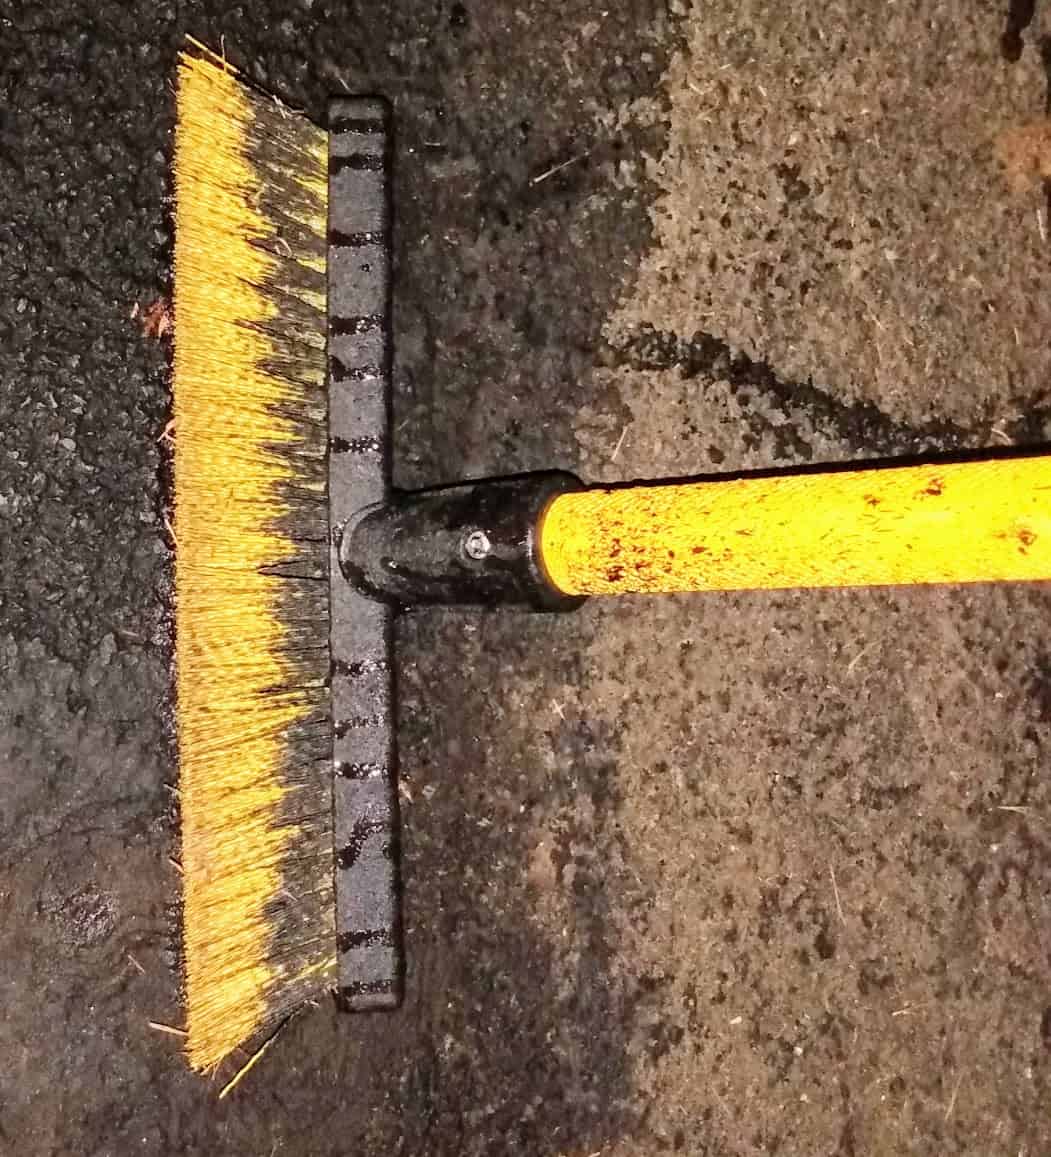
Squeegee and or bristle brush
I was going to use a squeegee for spreading the sealer. However, the driveway was so rough that a squeegee didn’t work well. I found that a stiff long handled bristle brush worked best. I used the brush both for applying sealer and cleaning before sealing.
Miscellaneous supplies.
- A ladle for the sealer. I used a 2 quart cheap plastic pitcher.
- A taping knife for the crack filler
- Lighter for the torch
- Small Trowel.
- Knife or scissors for cutting Pli-stix
- A tamper for cold patch
- Cleaner for the driveway – Pressure washing alone seemed to leave dirt. I used spic and span. Pour the mix on the driveway and brush with the stiff bristled brush, the same brush used for the sealer.
- 4″ pipe connections. I found that these are handy for standing the crack filler upside down prior to use. That will help a LITTLE with mixing it.
Summary:
Plan ahead as best as you can. Things will go much better when you have everything lined up.
- Previous: Feasibility
- This post – Materials Needed
- Next: Cleaning the driveway
- Patching cracks and potholes.
- Sealing
- Sealing in cooler weather
