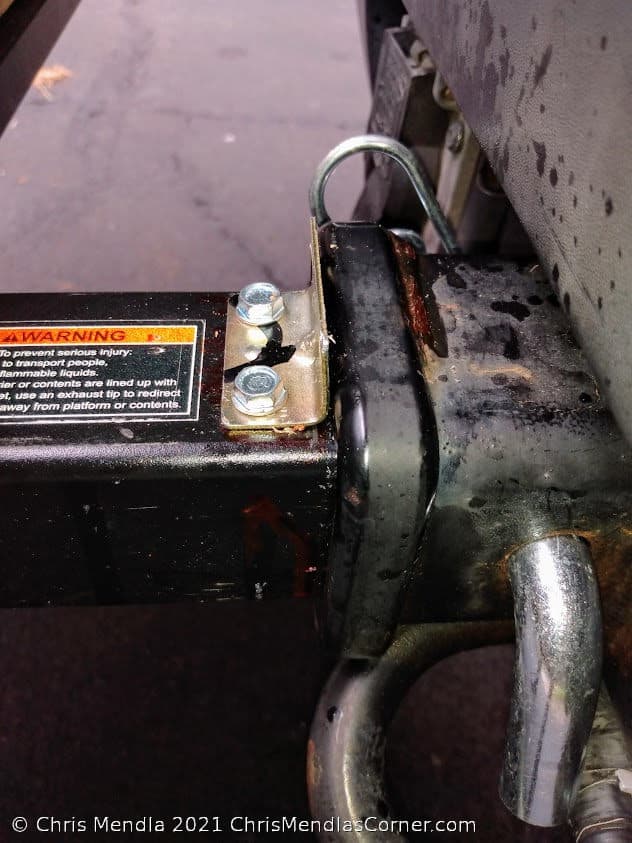
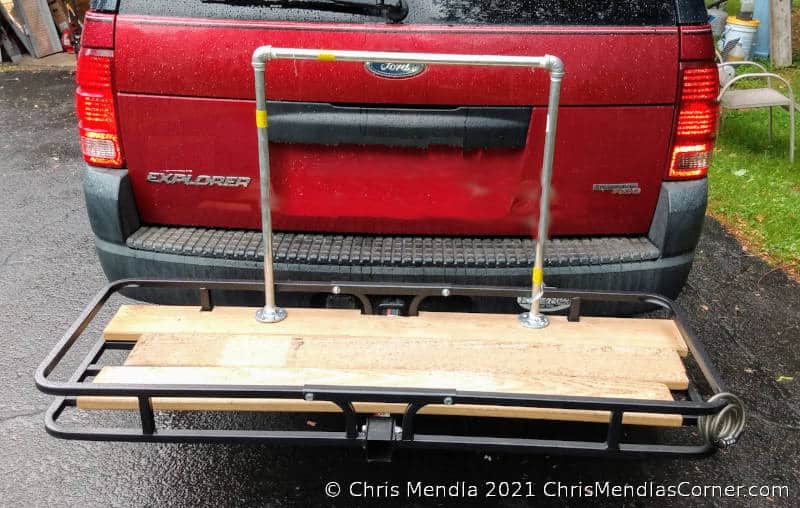
Attaching a cargo carrier rack to your vehicle can be frustrating when you can’t get the holes to line up for the hitch pin. You can attach a stop to the tongue of your cargo carrier rack to make it easy to position with the holes lined up.
NOTE – This modification will most likley void any warranties.
You will need a few simple tools, a corner brace and some self tapping screws.
- 2″ corner brace
- Center punch
- Felt tip pen for marking
- Self tapping screws
- Drill and bit
- Oil for cutting
- File to round off any sharp edges on the corner brace.
- Gather up your parts and tools as indicated above
- Attach your cargo carrier making sure the hitch pin is inserted
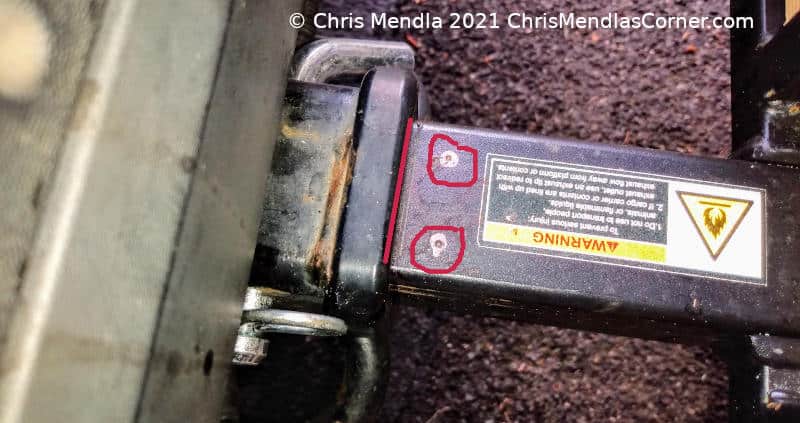
- Place the corner brace so that it is about 1/8″ from the receiver.
Mark the corner brace so that you will orient it the same way after you drill the holes. Many are not completely symmetrical.
- Mark where you will drill the holes for the screws.
You can mark it with a felt tip pen and then punch it or simply punch using the corner brace holes as a guide.

- Drill the holes
The drill bit should be the same size as the shaft of the screw or even a little smaller if it is a self tapping screw. Use oil when cutting to avoid overheating the drill.
- Attach the corner brace with the screws
There is no need to over-tighten the screws. Just snug them up.

- Remove the carrier and file any sharp edges or corners on the corner brace
- Try re-inserting the carrier
Go gently when you get near the stop. Think of it as a guide, not a mechanical stop

If you switch vehicles, you might find that the stop is not positioned ideally. You can simply remove it if it isn’t allowing the carrier to be inserted enough. Most people who would use a cargo carrier probably have pliers, sockets or a wrench available in their vehicle.
I found that the tongue material on the Harbor Freight steel hitch was fairly easy to drill. The modification worked like a charm for me greatly reducing the frustration in attaching the carrier.


